How to Install Plugin on WordPress Step by Step Guide
As we know that WordPress is a fully customizable Content Management System (CMS). Using WordPress CMS, a non-techie person can also run a website. But there’s some technical thing you should know when you start using WordPress. So today we will learn how to install Plugin on WordPress step by step Guide, continue below.
As there are thousands of free, paid and commercial plugins are available for WordPress, you should know the installation, activation, process of a plugin using these three different methods-
- Search and Install from Dashboard
- Upload and Install using Dashboard
- FTP method
How to Install Plugin on WordPress- 3 Ways
1. Search and Install from Dashboard
This is the simplest and easiest way of Installing a plugin from the WordPress dashboard.
Simply search the plugin using their name directly from the dashboard and install it. To do this simply —
- log in to your blog’s/website’s dashboard and click on Plugins > Add New. Then search plugin into the search box on the top right. Follow the instruction —
For this tutorial, I searched for Autoptimize and I got the following results:
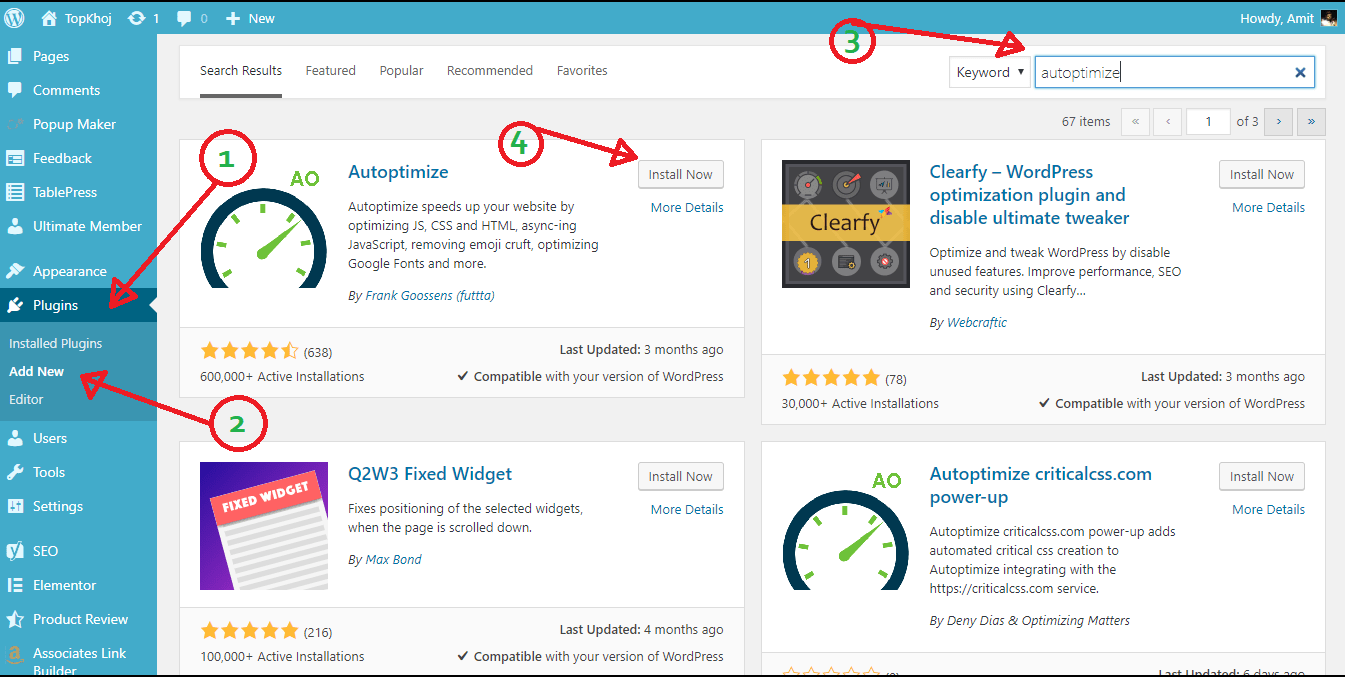
If you want to know more information about the plugin click on “More Details”. And before installing the plugin make sure you checked the compatibility of the plugin with your current version of WordPress and also read the documentation.
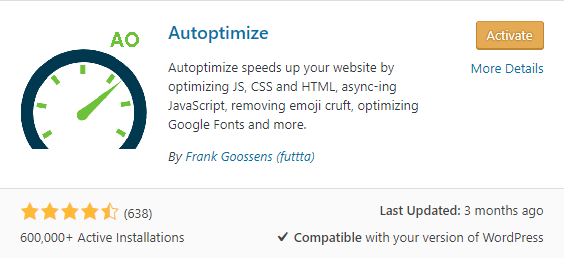
To install and activate, simply click on “Install Now” and then “activate” the plugin.
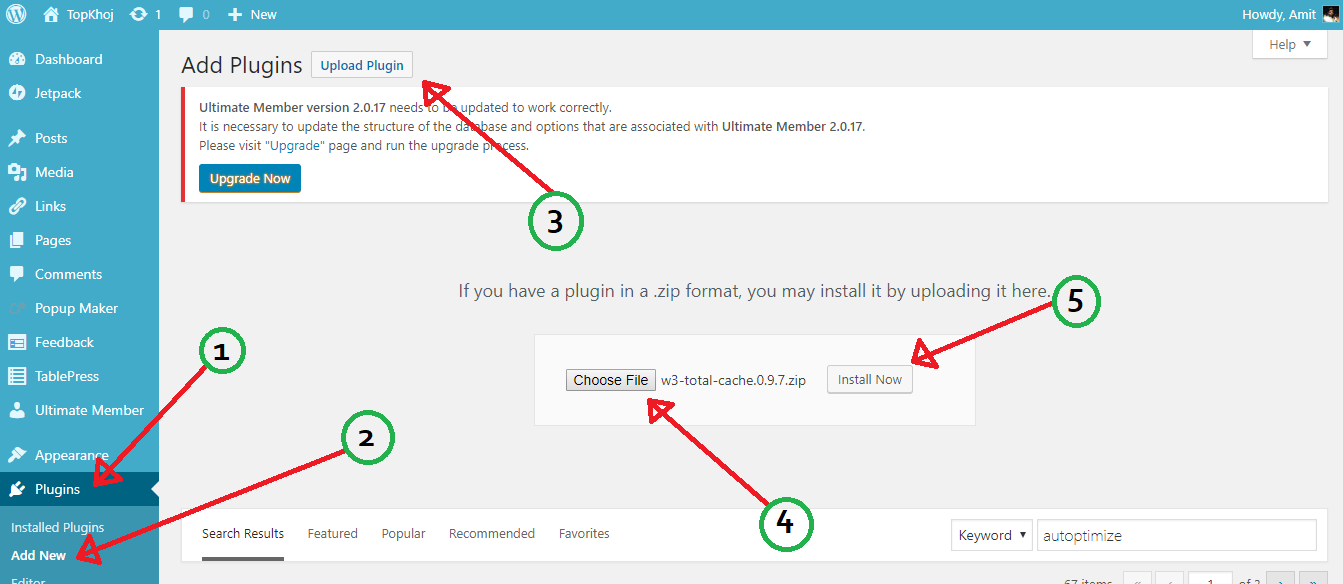
2. Upload and Install using Dashboard
Downloaded a WordPress plugin from 3rd Party Site in a .zip format, because you can only upload the .zip file. Click on “Upload Plugin” and select the .zip from your computer and click on “install”
For activations click on Installed Plugin > Inactive Plugin and select the plugin you want to activate.
Remember, WordPress only accepts the .zip format for uploading WordPress plugins.
3. FTP method
Personally, I don’t use this method because this is a lengthy method. In this method, you upload the plugin using FTP software such as FileZilla or Cyberduck.
First of all, you will have to download and install the FTP software. Now download the plugin from the WordPress plugin library, unzip it, and upload it to your WordPress plugin library using your FTP software. You can locate the uploaded plugin under wp-content/plugins.
Once you are done uploading the plugin files, go to the WordPress plugins folder in the WP dashboard and activate the plugin you uploaded.
If you are a beginner or completely new to WP and planning to start with WordPress, check out our WordPress guide.
READ⇒Get WordPress Hosting With A Free Domain Name
🚨 Stay Updated with TopKhoj! 🚨
Get the latest tech news, deals, and exclusive offers first!
📰 Visit News Section📲 Join our Telegram Channel for real-time updates and best deals!
🔗 Join Telegram Now💡 Stay informed and never miss a great deal with TopKhoj!
⚠️ Disclaimer: Any link provided in the article related to a product or service will redirect you to our affiliate partner(s)' website, which are affiliate links. This means that if you make a purchase through these links, we may earn a commission at no extra cost to you. This commission helps support our blog and our work.
🔔 All prices mentioned above are subject to change based on current offers and availability on e-commerce platforms. Please check the latest price and product details on the product page before making a purchase.